Quickbooks Premier Editions 2011 Download
Symptoms
The following article provides information on how to install either QuickBooks 2011 or 2012 on your Dell PC.
Table of Contents:
- This article guides you through the installation of QuickBooks 2011 and 2012
- Start Install
- Finish off Install
This article guides you through the installation of QuickBooks 2011 and 2012
This article takes you through an install guide for QuickBooks 2011 and 2012.
QuickBooks 2011 and 2012 are older versions of the QuickBooks software and are still available. You can also use this guide to reinstall already purchased or downloaded software.
 Note: It is recommended that this version of QuickBooks will work with Windows Version XP through to 7. It is NOT recommended for Windows 8.
Back to Top
Start the Install
-
Start the Installation Wizard.
-
From a CD: Insert the QuickBooks CD into the CD or DVD drive.
If the installation does not start automatically:
-
Right-click theWindows Start buttonand chooseExplore.
-
Browse to your CD or DVD drive in the left pane of the window and clickonce to view the contents of the CD.
-
In the right pane of the window, double-click theSetup.exe file to begin the installation.
Or:
-
From a download, Double-click the downloaded installation file -.exe extension.
-
 Note: If you don't already have the file, you can download it from Intuit.
-
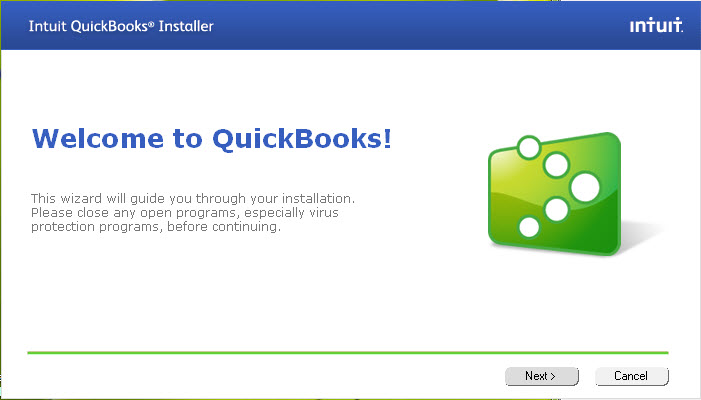
ClickNext to begin the installation.
-
Read the Software License Agreement. If you agree, selectI accept the terms in the license agreement and clickNext.

Back to Top
Finish off Install
-
Select the type of installation for this computer.
-
Choose Express if you want to allow the installer to make the recommended choices for you. Then proceed to step 5.
-
Choose Custom and Network options if you will use QuickBooks to share data with other users at the same time on a network
Set options for this computer:
-
Select I'll be using QuickBooks on this computer - If you are installing on a computer (workstation) that will be used for running QuickBooks but will not store the company file.
-
Select I'll be using QuickBooks on this computer, AND I'll be storing our company file here - So it can be shared over our network if this computer will be running QuickBooks or accessing QuickBooks through Remote Desktop connections, and will locally store the company file, which can be shared with others.
-
Select I will NOT be using QuickBooks on this computer. I will be storing our company file here so it can be shared over the network. -A license is not required for this option. - If no one will be using QuickBooks on this computer but it will be used as a file server to share the company file over the network with one or more workstations that have QuickBooks installed.
-
-
ClickNext when you have made your selection.

-
Enter the License and Product numbers in the appropriate fields.
 Note: These numbers appear on the yellow sticker that comes with your product or an email if you purchase the download. If you have previously registered your product, click the link at the bottom of the screen, I can't find these numbers, to go online and enter your contact information. Click the Submit button to search our system.
 Note: ProAdvisors: You can find your license and product code information on the ProAdvisor member site - login required.
You can find an article on how to locate these details below.
-
How to Locate your License and Product numbers for QuickBooks
-
ClickInstall to continue, or clickBack if you need to go back and review any of the previous screens.

-
QuickBooks will display the following message when the installation has completed.

-
By default, the checkboxesOpen QuickBooks andHelp me get started will be selected. Modify these options if you like, then clickFinish.
Back to Top
Posted by: stephanrentfro.blogspot.com
Source: https://www.dell.com/support/kbdoc/en-us/000138240/how-to-install-quickbooks-2011-or-2012-on-your-dell-pc


Comments
Post a Comment